Pastel de Nata: Homemade Portuguese Custard Tart Recipe
Pastéis de Nata have a special place in my heart, maybe because they are one of the most know sweets in Portugal, or perhaps because they’re simply delicious and I’ve had so many of them.
What are Pastel de Nata?
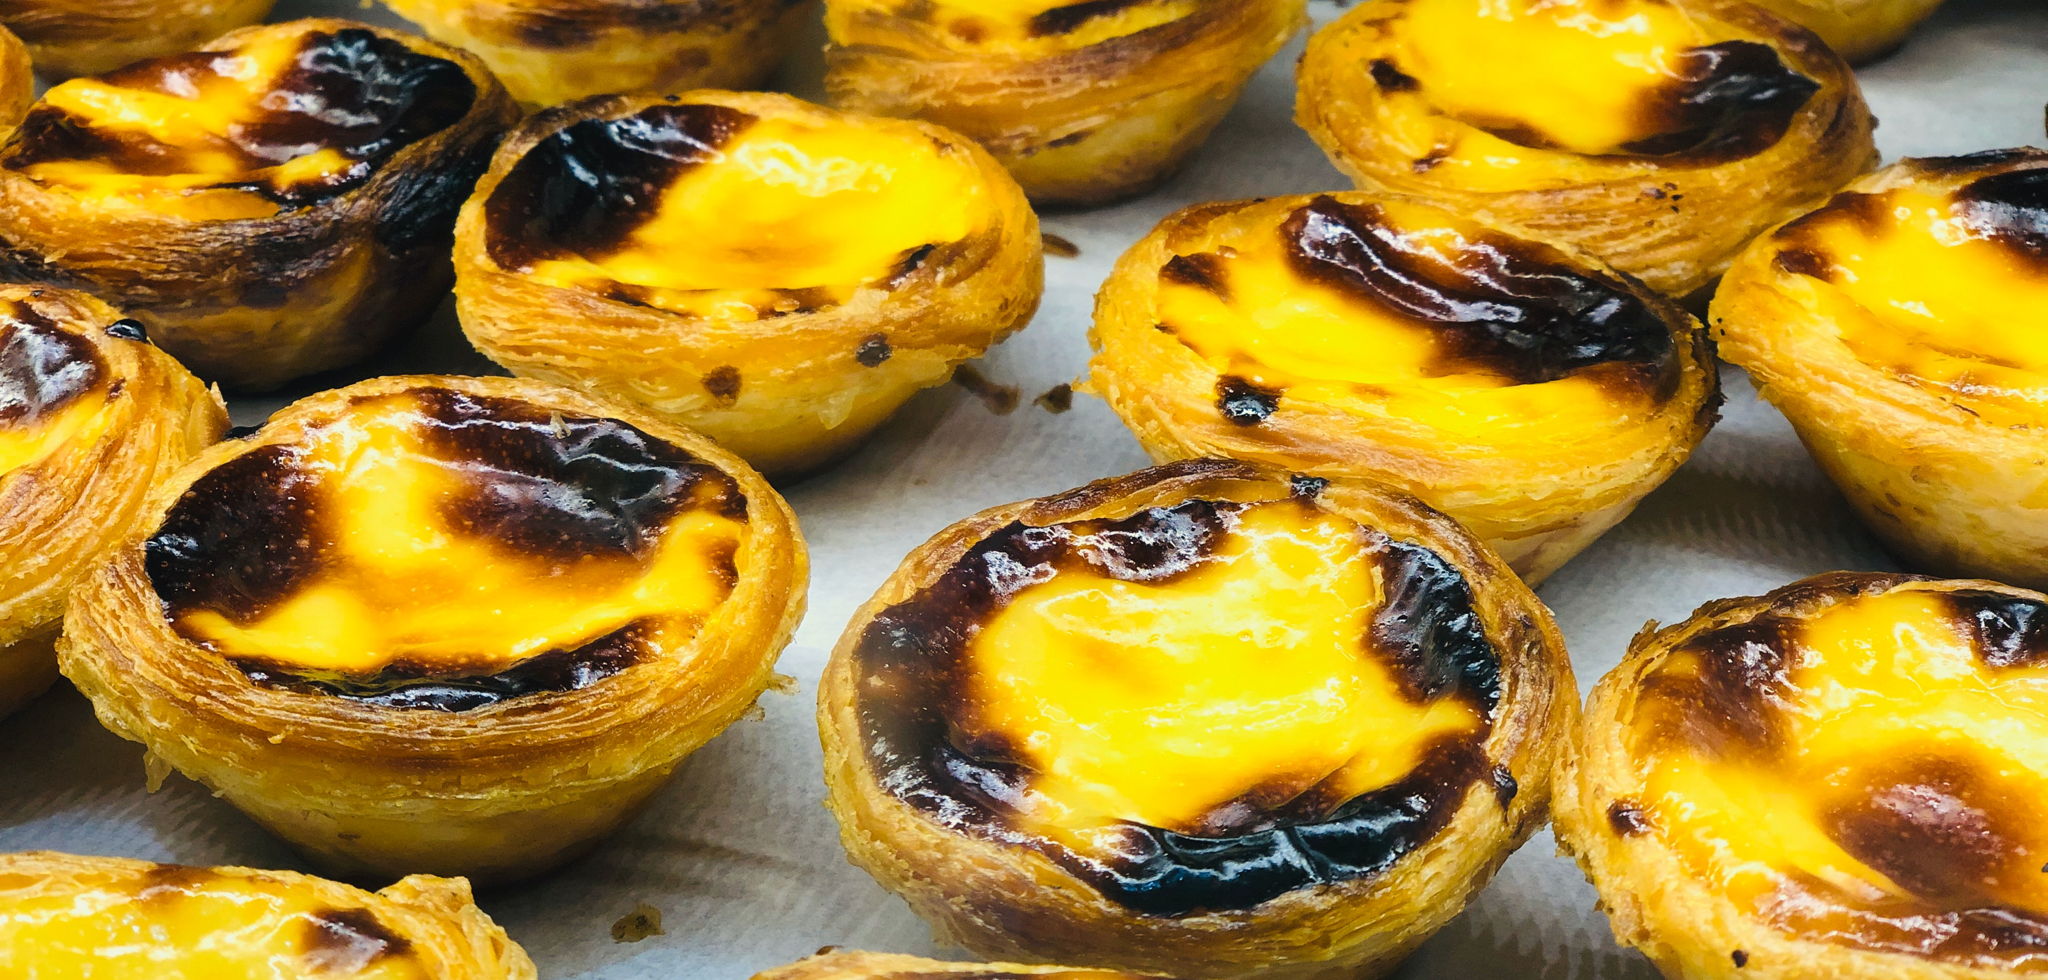
Pastel de Nata is one of the classics and perhaps the most known Portuguese pastry ever, It's also known worldwide as Portuguese custard tart and belongs to the list of typical Portuguese pastries called "Doces conventuais" (literal translation: Monestrie sweets)
You are now probably asking... What the heck are "Doces conventuais"?
It literally means it is a sweet created in a monastery, and pretty much all Portuguese regions have their own added to the list.
These sweets are known for large use of egg yolks combined with sugar, and they started to pop up around the country in the 15th century (after the colonization of Madeira Island that introduced the caster sugar to the Portuguese kingdom). Back then it was common practice in monasteries to use egg whites to starch religious clothing, and of course, in order not to be wasteful, yolks were combined with the newly arrived sugar, to create fantastic sweets and pastries!
Pasteis de Nata or Pasteis de Belém?
If you've visited Portugal, you know that there is a "fight" over the naming of this popular pastry. This is due to the location of the "first" Pastel de Nata.
Although the traditional Doces Conventuais were made all over the country. It was in a particular monastery in the town of Belém, Lisbon where they were created (in a place called Jerónimos Monastery (Mosteiro dos Jerónimos in Portuguese)).
When the liberal revolution of 1820 led to the extinction of religious orders and caused the imminent closure of many convents and monasteries. The monks of Jerónimos Monastery began selling their Natas at a nearby sugar refinery to alleviate their financial plight. Despite their efforts, the monastery had to close in 1834, and the recipe for their specialty was then sold to the owners of the sugar refinery. In 1837, the refinery owners themselves began producing and selling the pastry in a shop called "Pasteis de Belém" (that still exists and is owned by the descendants of the refinery family).
This is why you will most likely come across two different names for the same pastry; Pasteis de Nata and Pasteis de Belém.
The first refers to the generic version that can be made and sold by anyone. The second belongs exclusively to those made by and in the Pastéis de Belém factory/shop.
Ingredients
For the Puff Pastry:
- 145g all purpose flour
- pinch of salt
- 105ml water
- 100g soft unsalted butter
You can use store-bought puff pastry for the recipe, and save some time!
For the Custard:
- 30g all purpose flour
- 300ml milk
- 160ml water
- 220g caster sugar
- 1 cinnamon stick
- 1/4 tsp vanilla extract
- lemon peel from half a lemon
- 6 egg yolks
Instructions
For the Puff Pastry:
1. Using your fingers, quickly mix the flour, water and salt in a bowl, until it starts pulling away from the sides of the bowl. The initial dough should feel similar to a sticky wet bread dough so use a spatula to get it out. Move the dough to a floured surface, add some more flour on top of the dough and wrap it in cling film. Let it rest for 15 min.
2. After that time you can start the laminating process. So, add a little more flour to your "working" surface. You are going to start rolling your sticky dough, so, make sure to cover your rolling pin in flour. Once you reach an +/- 25cm square, it’s time to lay down the first layer of butter.
3. Using a light brush, brush off the excess flour from your dough. With a small spatula spread evenly 1/3 of the butter on to 2/3 of the dough. Don't forget to leave a 2cm border in order to stop the butter from coming out during the lamination process.
4. Carefully fold the unbuttered third of dough over the middle third, and again brush off any excess flour from the dough. Fold the remaining third on top of the rest of the dough.
5. Rotate the dough 90 degrees to the left so the last fold is facing you. Repeat the rolling process to an approximate 25cm square. Once again, spread another 1/3 of the butter on top of 2/3 of the dough even. Repeat the folding process as above.
6. For the final layer, turn the dough 90 degrees to the left and this time roll out the dough to a 30x35cm rectangle. With the shorter side facing you, spread the remaining butter over the entire surface of the dough this time.
7. Using our dough scrapper, lift the edge of the dough, and while scraping and brushing the excessive flour, roll the dough very tightly. Trim the ends, wrap it in cling film and chill it for at least 3 hours.
For the Custard:
1. In a bowl whisk together flour, and 50ml of milk until smooth. (cold milk will work better for this)
2. In a small pan, add the caster sugar, cinnamon, and water. Bring it to a boil and cook it until you dip a spoon into your syrup and lift it, and a large form. As if falls it should leave a short thin string behind. Do not stir your solution!!!
3. In another pan, bring the remaining milk to a boil. Once boiled, remove it from the heat, add the vanilla and lemon zest and cover it with a lid to infuse (1/2 min). Then, pour it into the flour and milk mixture.
4. In a thin stream, pour the sugar syrup into our infused milk mixture. Remove the cinnamon stick and stir it until it cools slightly.
5. Add in the egg yolks and whisk, strain the mixture into a jug or a bowl, cover it and set it aside.
Putting it all together
1. Preheat your oven to the hottest temperature that your oven reaches.
2. Remove your pastry log from the fridge and with a sharp knife divide it into 12 even slices. Place each of them in a well of a non-stick 12-cup muffin tin. Let the dough pieces rest for 10 minutes to soften.
3. Place a small cup of water on the side to dip your thumbs in. With wet thumbs, start shaping the dough into the tin. Press it against the bottom, and smooth the dough up to the sides, creating a raised lip above the pan. Be careful as the bottom should not be too thin.
4. Fill each cup ¾ with the custard, and bake it until the edges are golden brown (15-17 min). If your oven has a grill mode, you can turn it on for the final minutes in order to achieve the burnt effect of the typical pasteis de nata.
5. Remove from the oven when ready and let them cool for a few minutes before serving. Add a sprinkle of cinnamon on top of each one of them if you want to have the "full pastel de nata experience".
I hope you’ve enjoyed making and eating them as much as I do!
*This recipe was inspired by a recipe on We travel Portugal blog.